Lifting at the proximal fold, the skin ridge at the base of the nail, is nearly always one of four things: product touching skin, an under prepped or oily plate at the base, a first layer applied too thick, or an undercure caused by a tired lamp. Client biology plays a part, but it decides who is unforgiving of your technique, not whether the technique was sound.
That is why the same set holds for four weeks on eight clients and pops in six days on the ninth. The ninth client has an oilier plate, a deeper fold, or a job that keeps her hands wet, and she is showing you a flaw the others tolerated.
The useful move is diagnostic, not defensive. Look at the shape of the lift before you touch it, because the pattern tells you which of the four causes you are dealing with.
Reading the lift pattern to find the cause
Ask the client not to pick before she comes in, then examine the failure dry, under a good light, before removal.
| What you see | Most likely cause |
|---|---|
| A clean crescent lifting evenly along the whole cuticle line | Product touched or nearly touched skin, or the base is not adhered |
| Lifting only on the sidewalls near the base | Flooding at the lateral folds, brush pressure too high |
| The whole layer peeling off in one sheet like a shell | Prep failure: oil, dehydrator skipped, or plate not scuffed |
| Cloudy or slightly soft gel under the lifted edge | Undercure. Lamp, thickness or cure time |
| Lifting only on thumbs and index fingers | Cure position. Those nails sit at an angle in the lamp |
| Chipping at the free edge with a solid base | Not a cuticle problem. Free edge not capped |
| Lift plus a gap where the nail has grown out and cracked | Too long between fills for a structured product |
Write down what you saw. That single line, recorded per client, is what turns a recurring problem into a solved one three visits later.
Keep reading: Should I rent a booth, sublease a suite, or hire techs as W2 employees this year?
Oily nail plates, dehydrators and the myth of over buffing
Some people simply produce more natural oil at the plate, and it migrates back to the surface within minutes of wiping. Others have it seasonally, or while on certain medications, or after a hand cream applied in the car on the way over.
The sequence that handles it: push and remove all non living tissue from the plate first. Cuticle that remains at the base is not skin you are avoiding, it is a layer your gel will bond to instead of the nail, and it will lift with the next few days of growth. Use a pusher and then a fine hand file or a soft bit to clear the shine right up to, but not onto, the fold.
Then wash, then dehydrate, then apply immediately. The gap between the dehydrator flashing off and your base coat going on should be seconds, not minutes. If you dehydrate ten nails then start painting nail one, nail one has already re oiled.
Over buffing is the wrong fear. Excessive filing thins the plate and creates flexibility, which causes its own lifting and eventually pain and rings of fire. What you need is a uniform matte finish with no glossy patches, achieved with a 180 grit or finer surface, done in one direction with light pressure. Matte everywhere is the target. Thin is not.
For persistently oily clients, an acid free primer after the dehydrator is a reasonable escalation, in a thin coat, at the base third of the nail only.
Flooding the cuticle: bead placement and float distance
This is the single most common cause and it is a hand skill, not a product problem. Gel that touches living skin cannot bond to it. Skin moves, sheds and sweats, so within days there is a microscopic gap, and once the seal is broken the rest follows.
What good placement looks like:
- Wipe the brush on the bottle neck until the bead sits on one side, not saturating the whole brush.
- Place the bead about a millimeter back from the fold, at the center of the nail.
- Let the bead settle on its own for a beat. Gel self levels.
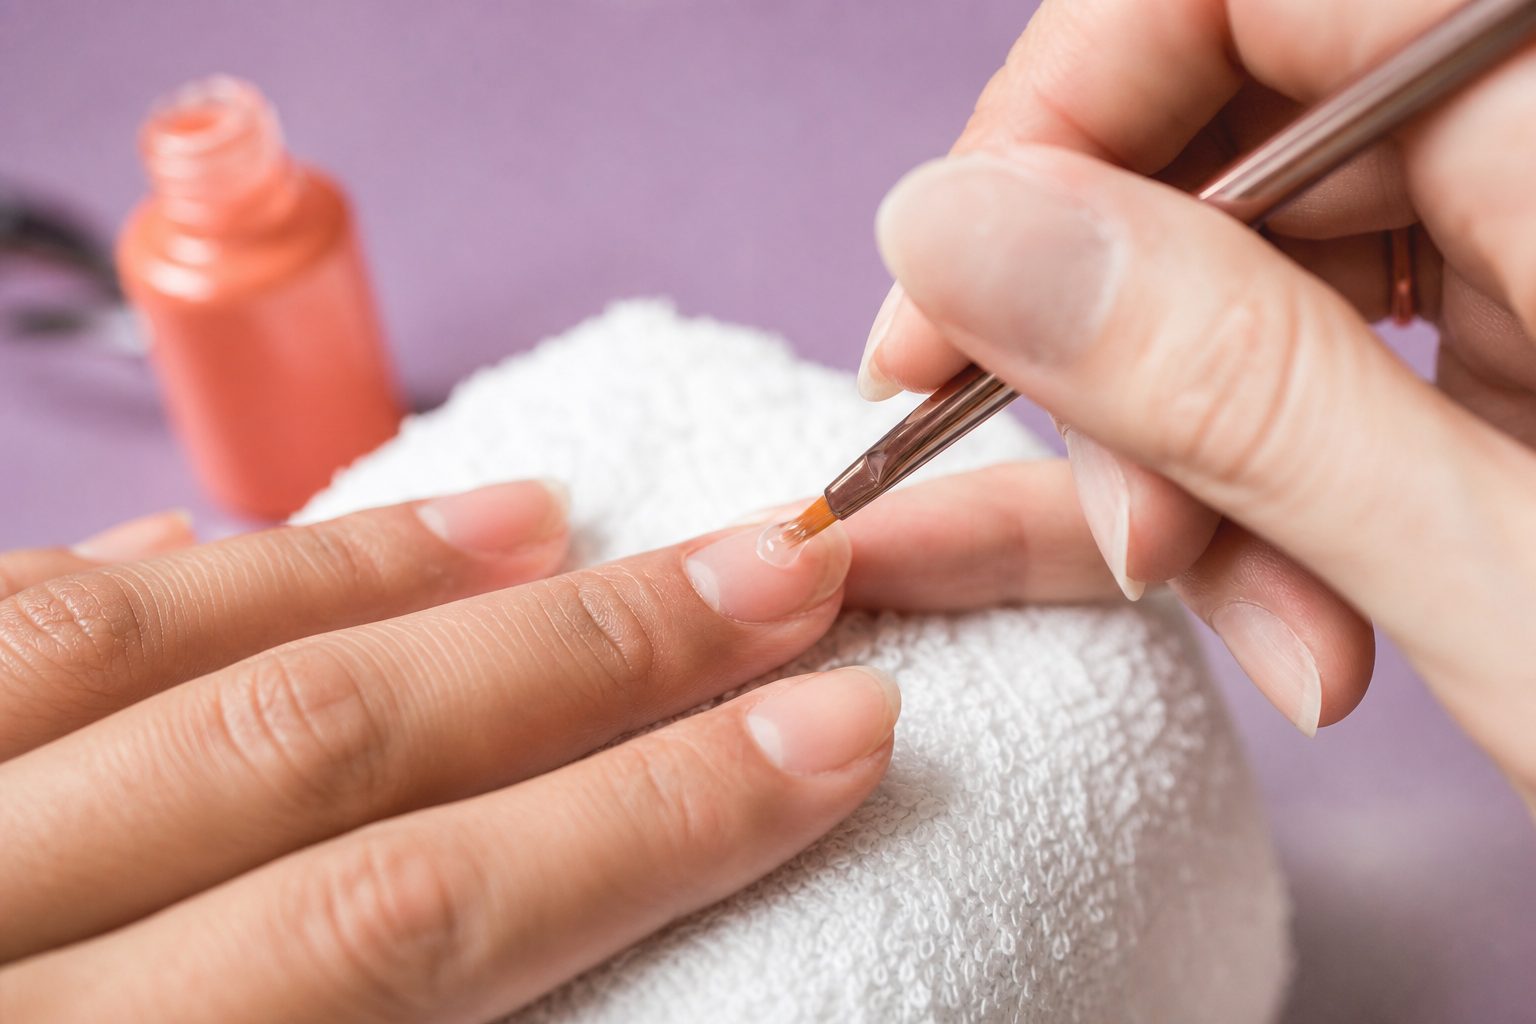
- Push the bead toward the cuticle with the flat of the brush, never the tip, and stop when the leading edge is a hair's width from skin.
- Then draw outward toward the free edge. The brush should be almost flat on the plate, not digging.
The hair's width margin is not a compromise, it is the correct finish. A client who says her nails look grown out on day five is usually describing an actual gap of nothing, and the honest response is that a visible margin at the base is what buys her four weeks instead of one.
If you do flood, fix it before curing. A clean detail brush dipped in cleanser, wiped, and drawn along the fold will lift the excess. Curing first and then filing the cured gel off the skin leaves a rough edge that catches and starts lifting anyway.
Keep reading: How do I handle a client who says her nails broke a week after I did them?
Cap the free edge, thin the first layer, and why cure order matters
Three separate habits that compound.
The first layer should be nearly transparent
Base coat is an adhesion layer, not a build layer. It should be thin enough that you can still see the plate texture through it. A thick base cures unevenly, shrinks as it cures, and shrinkage at the base is what pulls the edge away from the fold.
Cap every layer
Run the brush along the free edge after each coat, base included. An uncapped edge lets water travel under the product from the tip, and the lift that follows can present anywhere, including the base.
Cure order
Do four fingers, cure, then the thumb separately, held flat with the nail facing the bulbs. Thumbs cured alongside fingers sit at an angle and receive markedly less light on one side. If you have ever wondered why thumbs are your worst nail, that is why.
Flash curing, five to ten seconds on a single nail immediately after painting it, is a legitimate technique for clients whose gel runs into the sidewalls before you can get to the lamp. Full cure still follows.
Lamp wattage, bulb age and curing the wrong product in the wrong lamp
An LED lamp does not fail loudly. It dims. Output declines over thousands of hours, the cure gets marginally shorter each week, and one day sets start lifting for no reason you changed.
The practical rules:
- Match the lamp to the product. Gels are formulated for a wavelength range, and a product designed for a 365 nanometer output may cure poorly in a narrow band 405 lamp. Use the brand's own lamp where you can, and read the technical sheet where you cannot.
- Do not shorten cure time because a client is in a hurry. Thirty seconds means thirty seconds.
- Wipe the lamp interior weekly. A film of gel dust and overspray on the reflective surface cuts real output.
- Log lamp purchase date. If you run ten sets a day, treat eighteen months as the point to test rather than assume.
- Test by curing a thin layer on a tip and checking for tackiness beyond the normal inhibition layer, and for any cloudiness. Compare against a new lamp if a colleague has one.
Pigment matters too. Dense reds, deep blacks, whites and neons block light and need thinner coats or a longer cure. If your lifting complaints cluster around specific colors, you have found your answer without touching prep.
See how PolishBook handles this for nail studios
Client side factors: medications, hand washing, and gym chalk
These do not excuse a failed set, but they change what you do for that person.
- Frequent hand washing and sanitizer. Nurses, teachers, food service. Repeated wetting and drying flexes the plate and dries it out. Keep the application thinner and rebook tighter.
- Medications and health changes. Some clients report adhesion changes during and after certain treatments, or with thyroid conditions or pregnancy. You are not diagnosing anything. You are noting that this client's plate behaves differently right now and adjusting prep.
- Chalk, climbing, weights. Gym chalk is intensely drying and gripping a bar puts real lateral force on the free edge.
- Habitual picking. Once a client picks a lifted edge she removes plate layers with it, and the next set will lift faster on a damaged surface. Say so plainly and offer a free repair instead.
- Oils and cuticle products applied heavily the same morning. Ask, and wash properly if the answer is yes.
- Very flexible or very flat plates. A flat nail with little curve holds less well. A structured base with an apex often solves it outright.
Building a per client note that predicts the next set
Everything above only pays off if it is written down at the chair. The note should be short enough that you will actually make it and specific enough to be actionable a month later.
Four fields are enough:
- Prep used. Dehydrator only, or dehydrator plus primer. Grit used.
- Product and color. Brand, shade name, and how many coats for coverage.
- Wear result. Reported at the next visit: how many days before the first sign of lift, and where.
- Adjustment for next time. One line. "Primer at base, thinner top, book at three weeks."
Three visits of that and you stop guessing. You will see that one client needs primer every time, that another does fine except in dense red, and that a third simply needs a twenty one day interval rather than twenty eight.
Turning the pattern into a booking
The technicians who almost never see lifting are not doing something exotic. They are running the same prep every time and remembering what each individual plate needed last visit.
PolishBook stores service and color history per client with wear time notes and product usage, so the shade, the prep, the coat count and how long it actually lasted are in front of you before she sits down, and the rebooking nudge lands at the interval that particular set has proven it can hold. Note the pattern once, then let the record do the remembering.